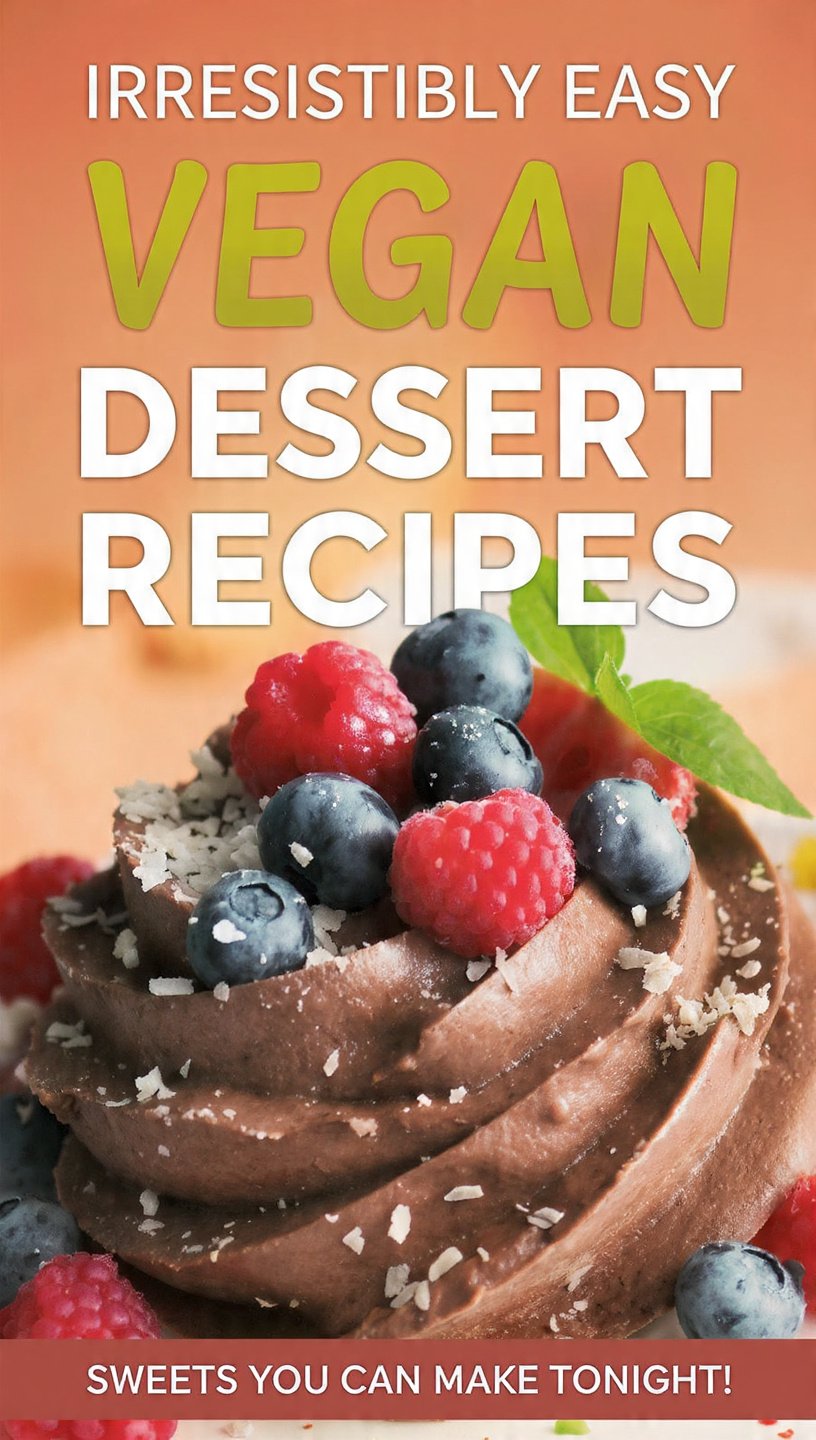
Irresistibly Easy Vegan Dessert Recipes: Sweets You Can Make Tonight!
Introduction of Recipe
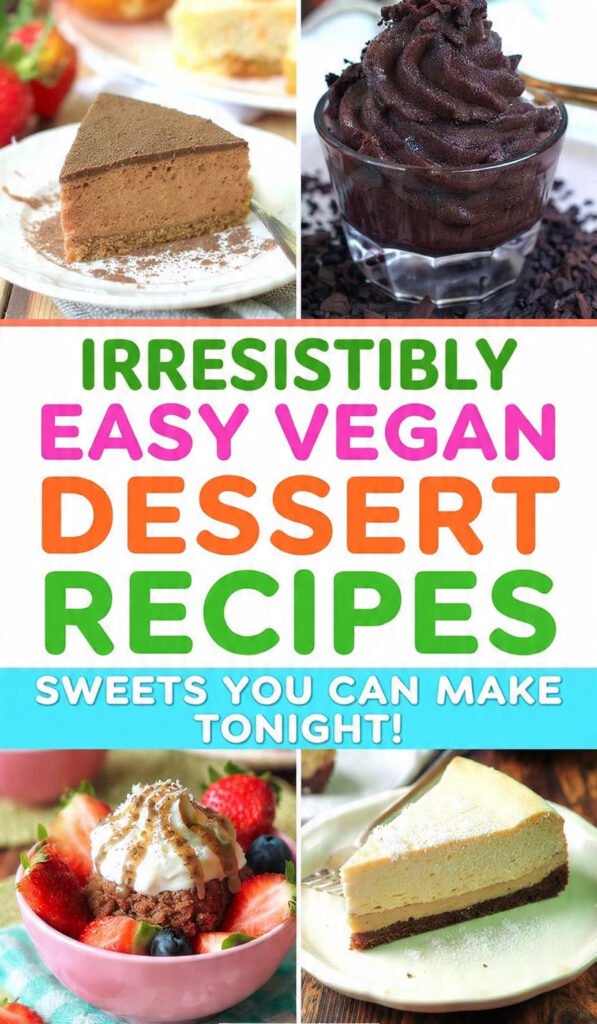
Everyone needs a little sweetness in their life—especially when it’s easy, homemade, and totally plant-based! These easy vegan dessert recipes are here to prove you don’t need dairy or eggs to create treats the whole family will love. Whether you’re craving gooey chocolate brownies, creamy coconut puddings, or fresh fruit crisps, you’ll find simple steps, pantry-friendly ingredients, and crowd-pleasing results.
Vegan desserts have exploded in popularity. Why? Because they check every box: naturally dairy-free, often allergy-friendly, and just as luscious as their traditional counterparts. Serve these at parties, bring them to potlucks, or enjoy them as a weeknight treat—no one will suspect they’re vegan!
History / Background
Desserts have a rich global history, with nearly every culture featuring sweet treats made from what was locally available, often using plant-based ingredients before dairy and eggs became widespread. Fruit-based desserts like pies and crumbles, coconut puddings, and nutty sweets from Mediterranean, Asian, and African cuisines have been delighting palates for centuries, and many were vegan before “vegan” was even a word.
In America, vegan baking took off in the late 20th century as more people explored plant-based diets. Bakers experimented, swapping butter for coconut oil, eggs for flaxseed and applesauce, and milk for plant-based options—yielding moist, flavorful cakes and cookies without sacrificing taste. Today, vegan desserts are more inventive and delicious than ever, and they’re for everyone—not just vegans!
Why You’ll Love This Recipe
Get ready to fall in love with vegan desserts that are:
-
Quick to prepare (many in under 30 minutes)
-
Perfect for beginner bakers
-
Free from dairy and eggs (great for allergies)
-
Family- and kid-approved—even picky eaters won’t know!
-
Budget-friendly, with simple pantry ingredients
-
Packed with flavor, not fillers
No fancy skills or tricky ingredients required—just big rewards.
Ingredient Notes
Some hero ingredients make vegan desserts both simple and scrumptious:
-
Coconut milk & cream: Provides rich, creamy texture in puddings, ice creams, and frostings.
-
Applesauce & mashed bananas: Great egg replacers in cakes and muffins—add moisture and sweetness.
-
Nut butters: Like almond or peanut butter, bring depth to cookies and bars.
-
Non-dairy chocolate chips: Perfect for brownies, cookies, and melting.
-
Oat and almond flour: Naturally gluten-free bases that deliver great texture, especially for crumbles and cookies.
-
Maple syrup & agave: Healthier natural sweeteners that blend easily and taste great.
-
Chia seeds & flaxseed: When mixed with water, these become great egg replacements for binding and added fiber.
Substitutions:
-
No coconut milk? Swap for any unsweetened plant milk and a bit of oil.
-
Nut allergy? Use sunflower butter or tahini.
-
Oat flour can be swapped for regular or gluten-free all-purpose flour if preferred.
Equipment Needed
-
Mixing bowls
-
Measuring cups & spoons
-
Whisk & spatula
-
Electric or hand mixer (optional, for whipped desserts)
-
8×8-inch baking dish
-
Parchment paper
-
Blender or food processor (for mousses and some batters)
-
Cookie sheets
[tasty-recipe id=”205″]
Tips & Variations
-
Add a sprinkle of flaky sea salt or chopped nuts to the chocolate before chilling.
-
For a tropical spin, swap peanut butter for coconut butter and use toasted coconut flakes as a topping.
-
Use almond or cashew butter for a subtle, nuttier twist.
-
Love crunch? Add a handful of chopped pretzels or rice crispies to the base.
Pro Chef Tips
-
Let bars sit at room temp for 10 minutes before cutting for clean edges.
-
Use a wet knife for slicing to avoid sticking.
-
For perfect layered bars, cool the bottom layer briefly before adding the chocolate to prevent swirls.
Common Mistakes to Avoid
-
Chocolate too thick/thin: Add non-dairy milk to achieve a smooth, pourable consistency.
-
Base crumbles: Press the dough firmly and use enough wet ingredients.
-
Bars are sticky: Chill longer, or keep in freezer for firmer texture.
-
Not lining the pan: Always use parchment for easy removal.
-
Using over-processed peanut butter: Natural is best for binding!
Storage & Meal Prep
Store bars in an airtight container in the refrigerator for up to 1 week. For a firmer texture, keep in the freezer (thaw before eating).
Bars travel well—perfect for lunchboxes or meal prep snacks.Make-Ahead & Freezer Notes
You can prep the entire recipe ahead—just chill or freeze until ready to serve.
For best flavor and texture, enjoy within 1 month if frozen.
To defrost, place in fridge overnight or at room temp for 30 minutes.Serving Suggestions
Enjoy these bars on their own, or:
-
With a scoop of vegan vanilla or coconut ice cream
-
Paired with fresh berries or a fruit compote
-
With a hot cup of coffee, tea, or oat milk latte
-
As part of a dessert platter for gatherings
FAQs Section
1. Can I use store-bought oat flour?
Yes! Or just blend rolled oats in a food processor for homemade oat flour.2. What if I don’t have coconut oil?
Melted vegan butter or neutral oil works too—texture may vary slightly.3. How do I make this sugar-free?
Use sugar-free syrup and unsweetened chocolate chips.4. Are these gluten-free?
Yes, if you use certified gluten-free oats/oat flour.5. Can I make these nut-free?
Yes, use sunflower butter and ensure all ingredients are nut-free.6. Do these taste like Reese’s bars?
They’re rich, peanut-buttery, and chocolatey—like a cross between classic peanut butter cups and a fudge bar.7. Can I double the recipe?
Absolutely! Use a larger pan and increase chill time.Conclusion
Vegan desserts have never been easier or more tempting! With recipes like these no-bake chocolate peanut butter bars, there’s no need to settle for store-bought sweets. Whether you’re new to plant-based baking or simply looking for a treat that everyone can enjoy, this recipe is a delicious way to cap off any meal.
Ready to whip up these treats? Save the recipe to your Pinterest board, comment with your favorite vegan dessert, and share your creations with #VeganDessertsForAll! Happy baking!
-