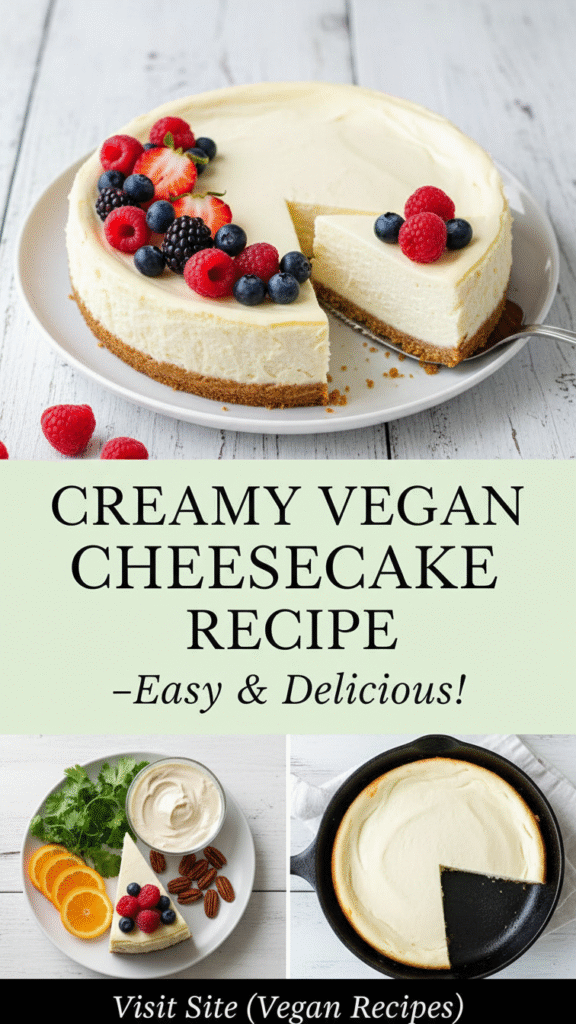
Irresistible Vegan Cheesecake Recipe: Creamy, Easy & Delicious
Introduction of Recipe
If you’ve ever craved the rich, creamy decadence of cheesecake but follow a vegan lifestyle—or simply want a dairy-free dessert option—this Vegan Cheesecake recipe is your new best friend. It’s a luscious, plant-based take on the classic dessert that doesn’t compromise on flavor or texture. Perfect for holidays, birthdays, or any special occasion, it’s bound to impress friends and family alike, even those who aren’t strictly vegan.
Whether you’re serving it at a dinner party, bringing it to a potluck, or simply indulging on a quiet night in, this cheesecake offers all the smooth richness and tang you love, using simple, wholesome ingredients. Plus, it’s totally Pinterest-worthy!
History / Background
Cheesecake has roots tracing back thousands of years to ancient Greece, where it was originally made with simple ingredients like cheese, honey, and flour. Over centuries, cheesecake evolved into many regional variations across Europe and America, typically centered around dairy-based cream cheese.
The vegan version arose as people sought plant-based alternatives that cater to both dietary restrictions and ethical food choices. Using cashews, tofu, or blended silken alternatives, vegan cheesecake has gained tremendous popularity worldwide, especially as veganism and dairy-free diets have grown. This recipe is both a modern homage to tradition and an innovative creation that aligns with contemporary food values.
Why You’ll Love This Recipe
This Vegan Cheesecake is a dream come true if you want a dessert that’s:
-
Creamy and smooth—no graininess, no dull flavors.
-
Simple to make with wholesome ingredients.
-
Dairy-free and egg-free, perfect for vegan or lactose-intolerant eaters.
-
Gluten-free compatible with a simple crust adjustment.
-
Nutritious—with good fats and plant proteins.
-
Crowd-pleasing—delicious enough to satisfy classic cheesecake lovers.
-
Make-ahead friendly for stress-free entertaining.
-
Customizable with toppings or flavor variations.
Ingredient Notes
-
Cashews: The foundation of the filling. Soaked to soften, they create a creamy texture reminiscent of cream cheese.
-
Coconut cream: Adds richness and smoothness.
-
Lemon juice: Provides the tang necessary to mimic traditional cheesecake’s signature sour note.
-
Maple syrup: Natural sweetener adding gentle, balanced sweetness.
-
Vanilla extract: For a warm, fragrant essence.
-
Almond flour or gluten-free graham crackers: For the crust—choose gluten-free if needed.
-
Coconut oil: Helps bind the crust and set the filling when chilled.
Possible substitutions:
Silken tofu can replace cashews for a smoother but slightly different texture; agave nectar can replace maple syrup for sweetness; any nut or seed flour can replace almond flour for crust variation.
Equipment Needed
-
Food processor or high-speed blender
-
Mixing bowls
-
9-inch springform pan
-
Measuring cups and spoons
-
Spatula
-
Saucepan (optional, for melting coconut oil)
-
Plastic wrap or foil
Recipe Card
Prep Time: 20 minutes
Cook Time: 0 minutes (no-bake)
Chill Time: 4-6 hours or overnight
Total Time: 4 hours 20 minutes to overnight
Yield: 8 servings
Category: Dessert
Method: No-bake, Refrigeration
Cuisine: American (Vegan/Plant-based)
Diet: Vegan, Dairy-Free, Gluten-Free (optional)
Description: A creamy, tangy vegan cheesecake with a nutty crust, naturally sweetened and perfect for any occasion.
Ingredients:
-
1 ½ cups raw cashews (soaked 4 hours or overnight)
-
¾ cup coconut cream (the thick part from a can)
-
½ cup maple syrup
-
3 tbsp lemon juice
-
1 tsp vanilla extract
-
1 ½ cups almond flour or gluten-free graham crackers (crushed)
-
¼ cup coconut oil (melted)
-
Pinch of sea salt
Instructions:
-
Line the springform pan with parchment paper.
-
Prepare the crust by mixing almond flour, melted coconut oil, and a pinch of sea salt in a bowl. Press firmly into the bottom of the pan to form an even layer. Place in fridge to set.
-
Drain and rinse soaked cashews. Add to food processor with coconut cream, maple syrup, lemon juice, and vanilla extract. Blend until completely smooth and creamy, about 3-5 minutes. Scrape down sides as needed.
-
Pour the filling over the crust and smooth the top with a spatula.
-
Cover tightly with plastic wrap and refrigerate for at least 4 hours or overnight until fully set.
-
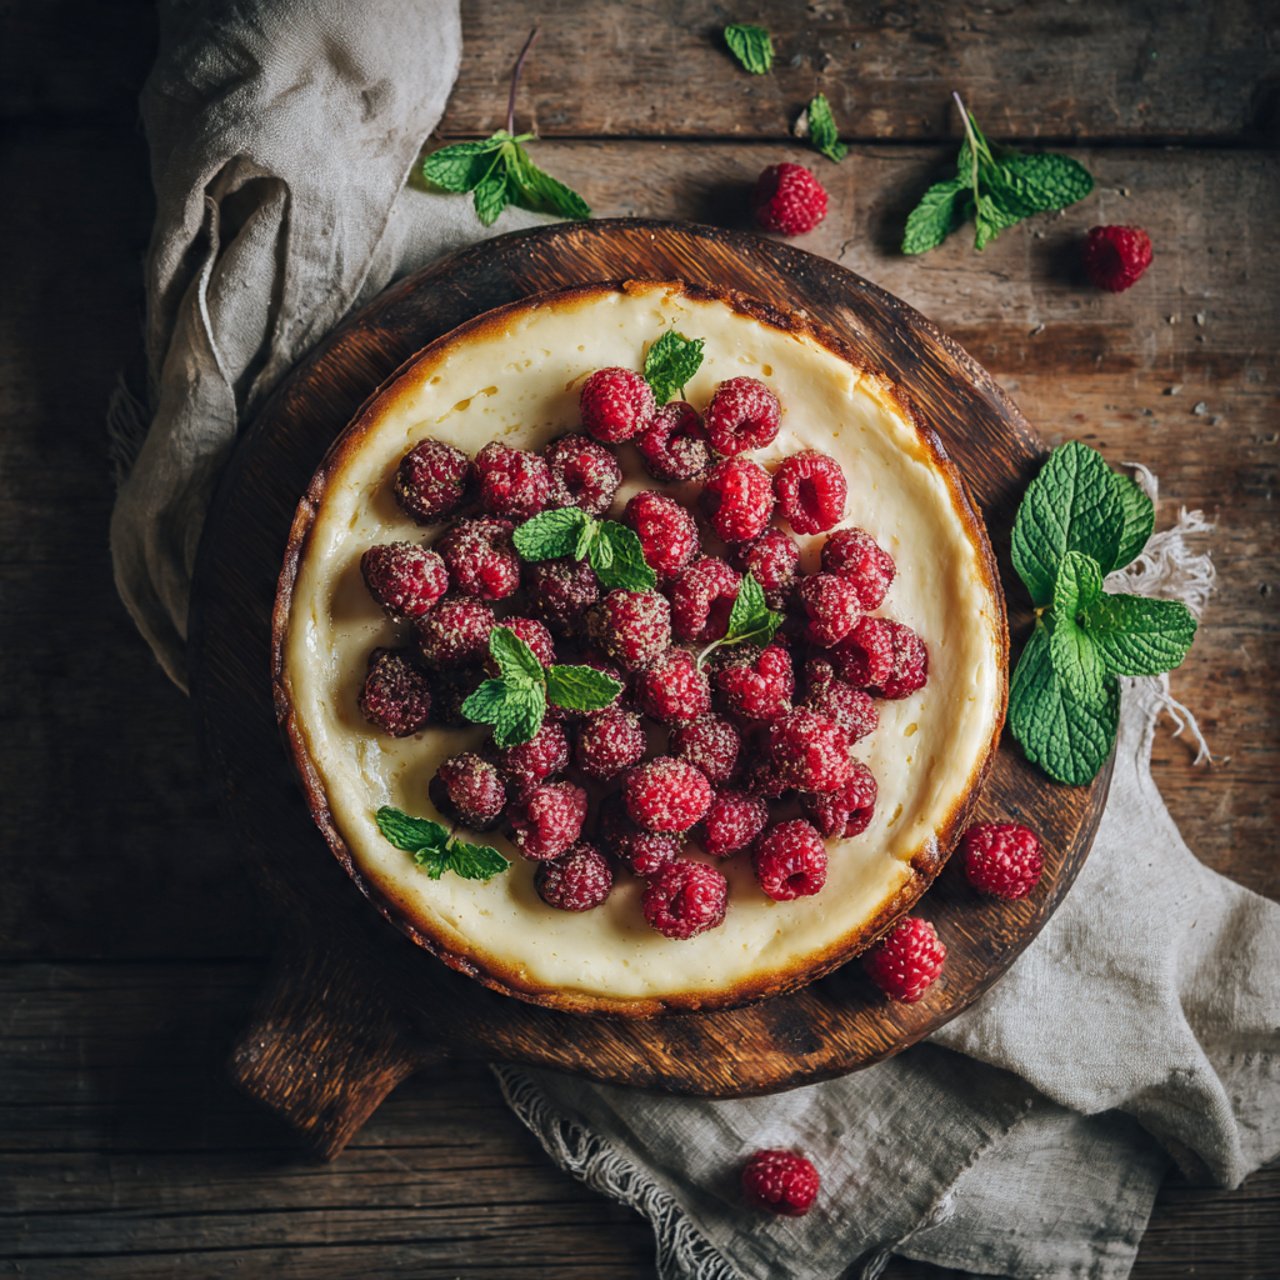
Once set, remove from pan carefully and garnish as desired with fresh berries or fruit compote. Slice and serve chilled.
Notes:
-
Soaking cashews is essential for smoothness.
-
Coconut cream should be thick; chill cans overnight before opening for best results.
-
For softer slices, let cheesecake sit at room temperature for 10 minutes before serving.
Nutrition Facts Table
| Nutrient | Amount (per serving) |
|---|---|
| Serving Size | 1 slice (1/8 cake) |
| Calories | 320 |
| Sugar | 18g |
| Sodium | 50mg |
| Fat | 24g |
| Saturated Fat | 16g |
| Unsaturated Fat | 8g |
| Trans Fat | 0g |
| Carbohydrates | 22g |
| Fiber | 3g |
| Protein | 6g |
| Cholesterol | 0mg |
Tips & Variations
-
Add fresh lemon zest to filling for extra zing.
-
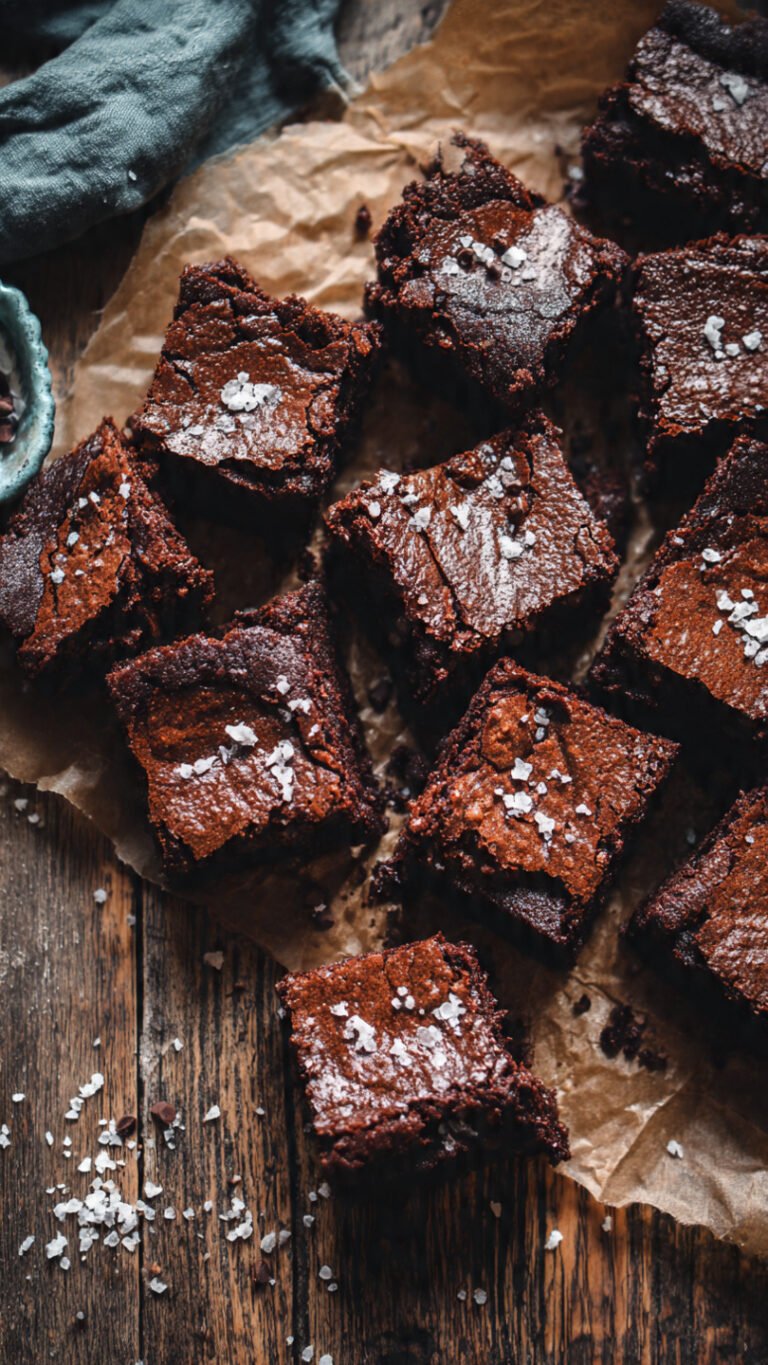
Top with fresh seasonal berries, fruit compote, or vegan chocolate ganache.
-
Swap maple syrup for agave or coconut sugar for different sweetness profiles.
-
Use sunflower seeds instead of cashews for nut-free variation.
-
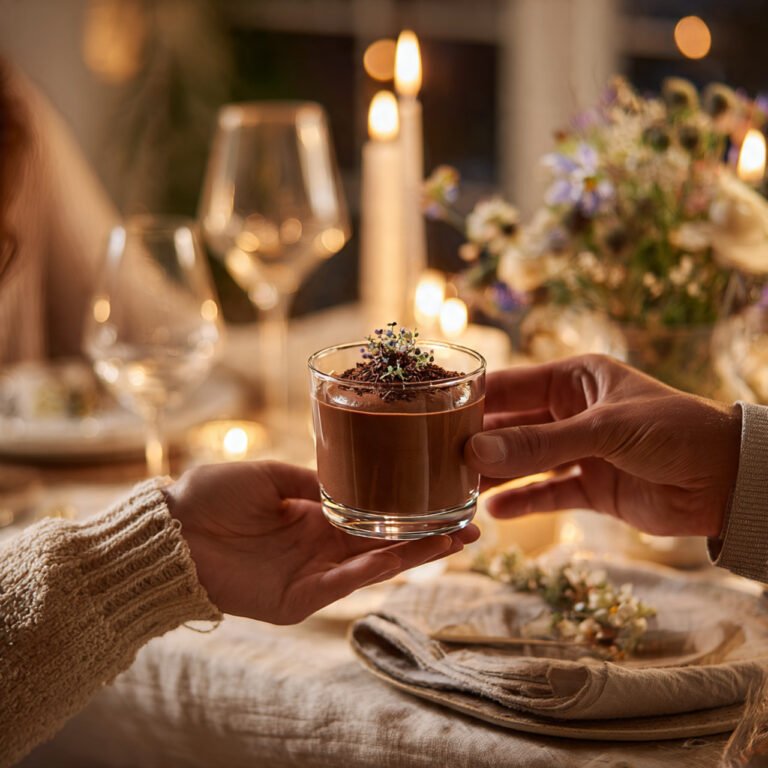
Make a chocolate version by adding cocoa powder to the filling.
Pro Chef Tips
-
Use a high-powered blender (like Vitamix) for a perfectly smooth texture.
-
Chill your equipment (blender jar and mixing bowl) before blending to keep mixture cold and creamy.
-
Press crust evenly and firmly into pan to avoid crumbling when slicing.
-
Let the cheesecake come to room temp briefly before slicing for clean cuts.
-
Experiment with natural food coloring or flavor extracts for creative presentations.
Common Mistakes to Avoid
-
Not soaking cashews long enough, resulting in a grainy texture.
-
Using watery coconut milk instead of thick coconut cream, causing runny filling.
-
Skipping refrigeration time, so the cheesecake won’t properly set.
-
Pressing crust unevenly, leading to unstable base.
-
Over-blending crust ingredients could make it oily and crumbly.
Storage & Meal Prep
Store leftover vegan cheesecake in an airtight container in the refrigerator for up to 5 days. Keep it well covered to prevent it from absorbing fridge odors. For best texture, allow slices to sit at room temp for 10-15 minutes before serving.
Make-Ahead & Freezer Notes
This vegan cheesecake is an excellent make-ahead dessert. Assemble it a day or two before your event and chill thoroughly.
To freeze, wrap the cheesecake tightly with plastic wrap then aluminum foil. Freeze for up to 3 months. Thaw in the fridge overnight before serving and let sit out for 15-20 minutes to soften.
Serving Suggestions
Serve this cheesecake alongside:
-
Fresh berry salad or mixed berries with mint
-
A drizzle of fruit coulis or vegan caramel sauce
-
A cup of bold coffee or herbal tea
-
Light, refreshing salads for a balanced meal after dessert
FAQs Section
Q1: Can I make this cheesecake nut-free?
Yes! Substitute cashews with soaked sunflower seeds for a nut-free option.
Q2: Is this recipe gluten-free?
Yes, if you use gluten-free graham crackers or almond flour for the crust.
Q3: Can I use canned coconut milk?
Use only the thick coconut cream portion from canned coconut milk, chilled overnight.
Q4: How do I get a smooth cheesecake filling?
Soak cashews well and use a high-powered blender to blend the filling until silky smooth.
Q5: What’s the best way to remove cheesecake from springform pan?
Run a thin knife around the edge before unlatching the pan for a clean removal.
Q6: Can I bake this cheesecake instead?
This recipe is designed no-bake. Baking may change texture and requires different ingredients.
Q7: How long does this cheesecake keep in the fridge?
Up to 5 days stored properly in an airtight container.
Conclusion
Now you have everything you need to create a stunning, smooth, and delicious vegan cheesecake that’s sure to wow the whole family. It’s simple, nourishing, and perfect for any occasion—plus, it’s totally Pinterest-worthy! Give this recipe a try, share your photos, and don’t forget to pin it for your next craving or celebration.